 Recumbent bicycle
Why not build one yourself with this design, and join the fast cyclists
#@hanno; apr 2001 Back »
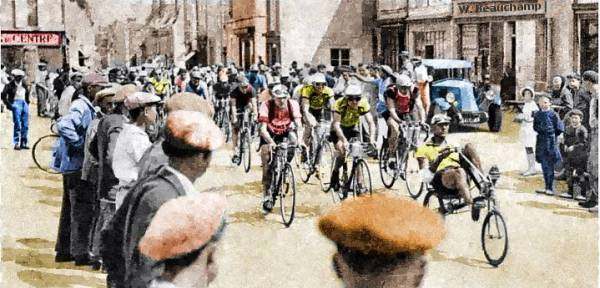
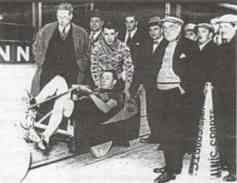
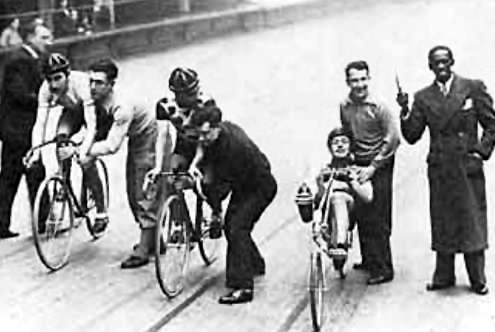
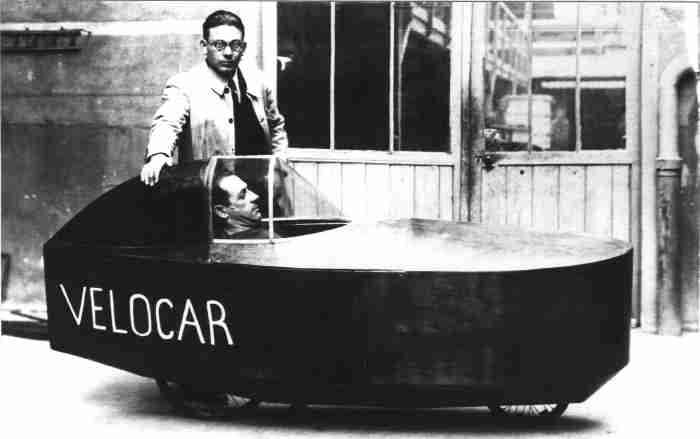
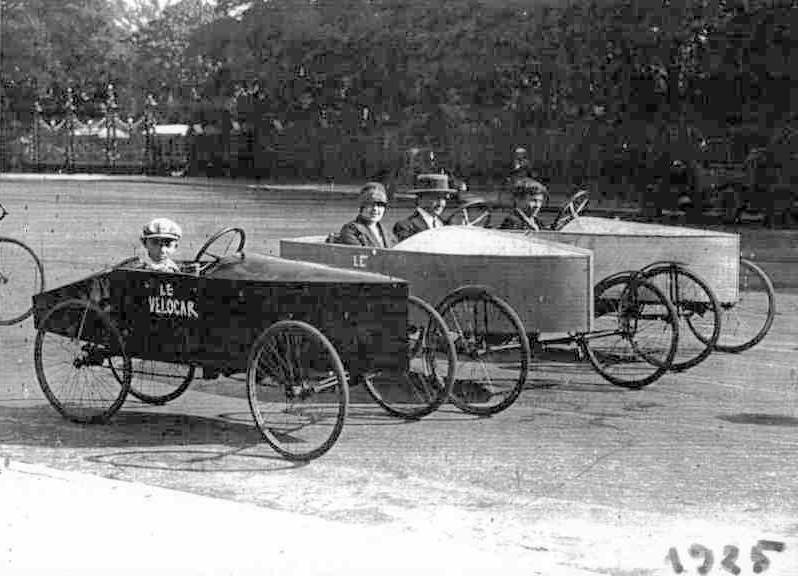
The roots of recumbent bikes lie well before world war 2. In the thirties the recumbent bicycles entered races. It did not take the ICU (International Cycling Union) long to ban this type of bicycle. They were thinking along the same lines as this year when they banned the special time trial bikes for the professionals.
The reasoning is that modern sophisticated equipment does not do justice to the concept of the race, ie. The comparison of athletic ability.
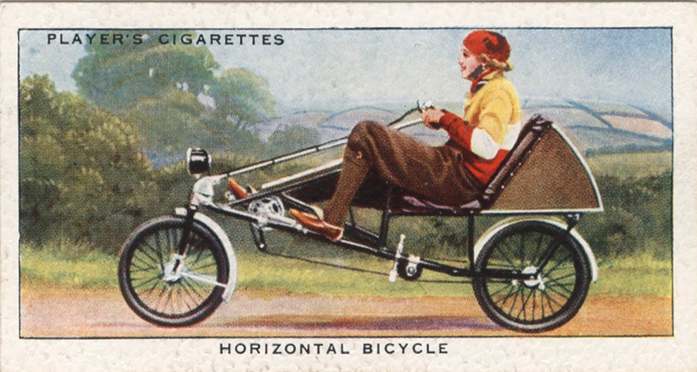
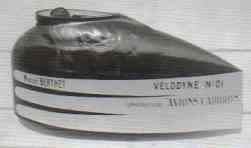
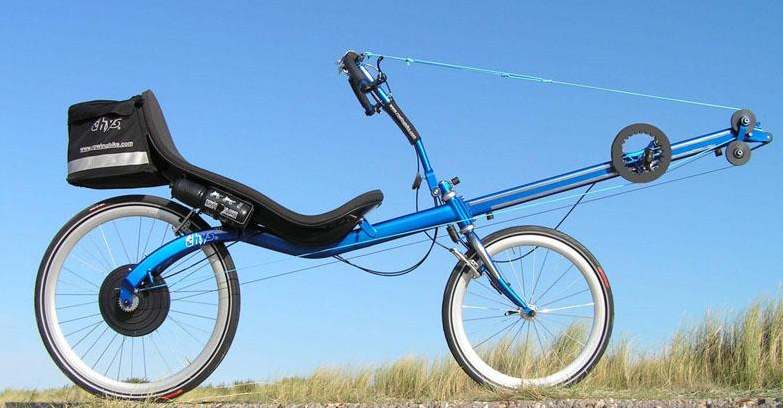
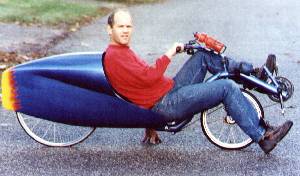
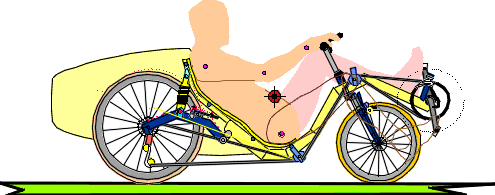
At first I designed mainly "high" recumbent, which I later discarded for a real lowrider. You can enlarge the images by clicking on them. One of the bicycles has a woodspring rear frame.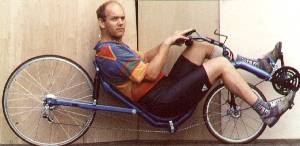


The official competition cycling organizations have banned recumbent bicycle, as they give cyclists an advantage. This type of reasoning seems to be "de rigeur" for many large international sport organisations. Even Formula1 racing, which exists because of frontline development, has been the victim of technology bans.
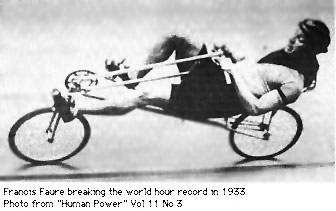
Luckily there are always enthusiastic people who want to now what is possible. The development of the speed cycling record. The success of recumbent in long distance racing, all prove the validity of the concept.
Amateur racing cyclists, cycling solo, who are able to maintain an average speed of approximately 30km/h for 2 hours, will increase this average on a recumbent bike to 35 km/h. Maximum maintainable speed is 45km/h. Bursts of over 50km/h are quite feasible.
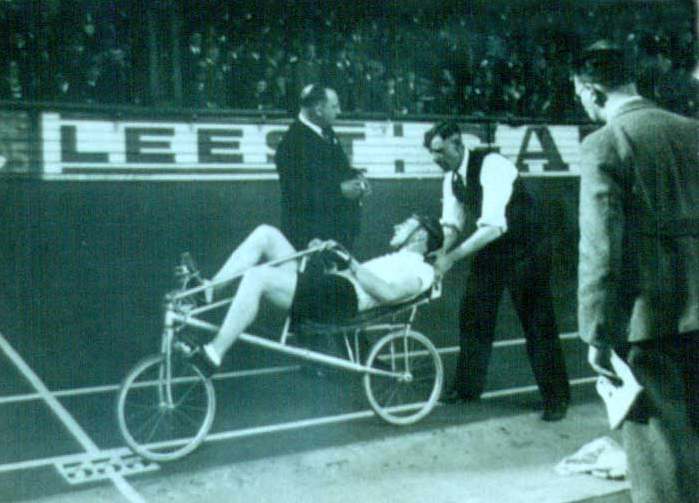
More or less professional cyclists, are able to maintain much higher speeds. The 1 hour record for fully enclosed recumbant bikes stands at 78k/m. The average over a 540km race, is 40km/h. Quite unbelievable when you bear in mind that all the really gifted cyclist shy away from recumbent biking (no Rominger, Boardman, Ullrich, Delgado or Lemond.). They are afraid of their image and the possible negative effects of the training required.
The main element is the highly decreased aerodynamic resistance (R).
When compared to a normal cyclist the frontal area (A) is only a third.
As the resistance of an object is proportional to its area and to the square of the speed (V),  the recumbant will experience the same aerodynamic resistance at an approximately 75% higher velocity.
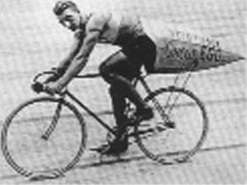
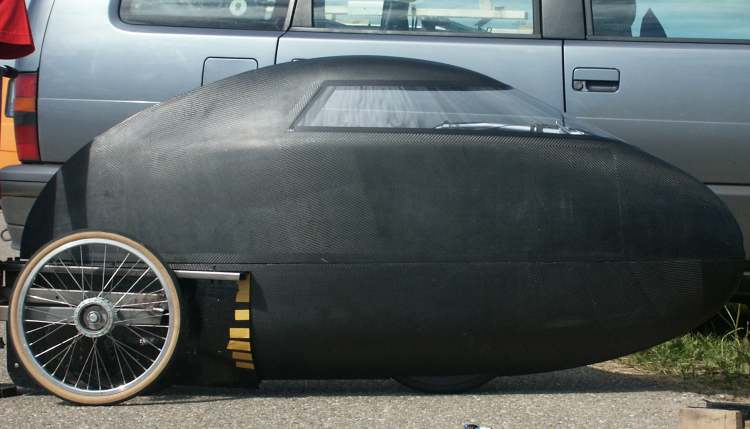
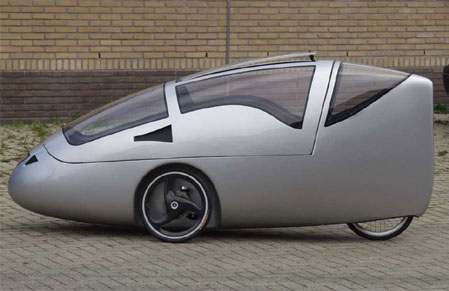
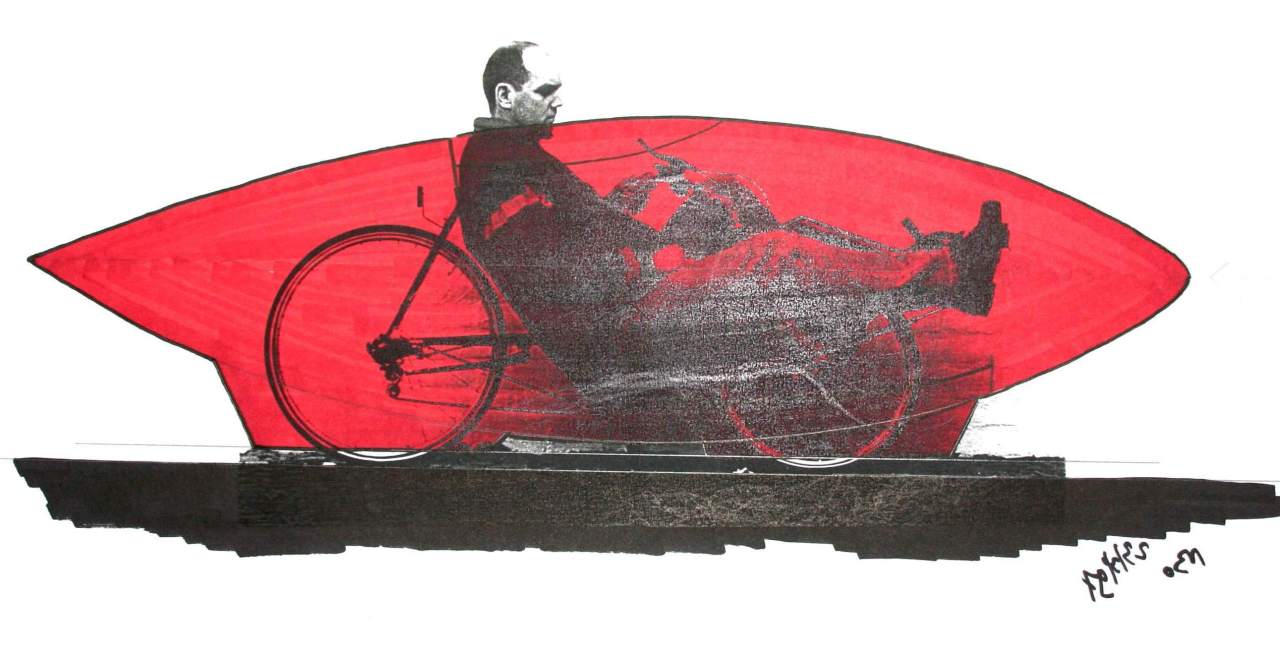
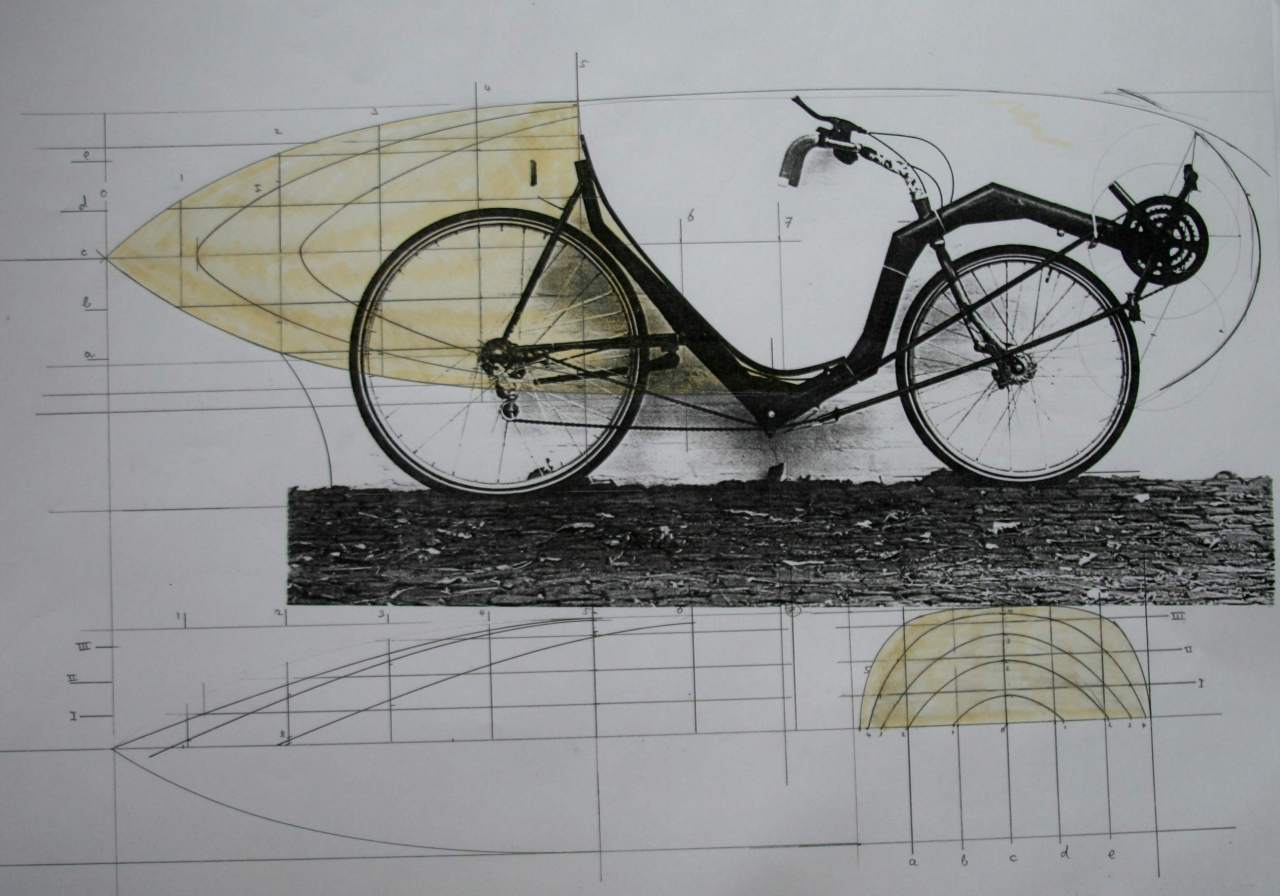
Streamlining the bicycle (decreasing Cd), with an aft streamlined-appendage, has become very common. This decreases areodynamic resistance with a further 30%.
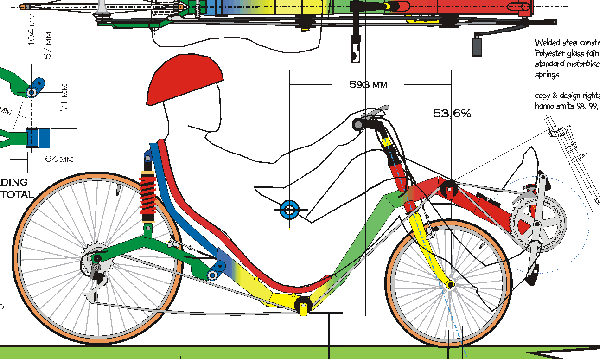
The only prerequisites are that you are a good craftsman and can weld. The design is presented on another page of this website, hanno's lowrider design. Using a drawing from an existing design, will spare you the initial prototypes. You will end up with a good bike at the first try.
If you are interested you can get the design drawing by clicking one of these links as .gif or Corel 9.0 format, it is based on myself ie. 1,90m male.
Use it and if you like send me a picture which I wlill then add to this website.
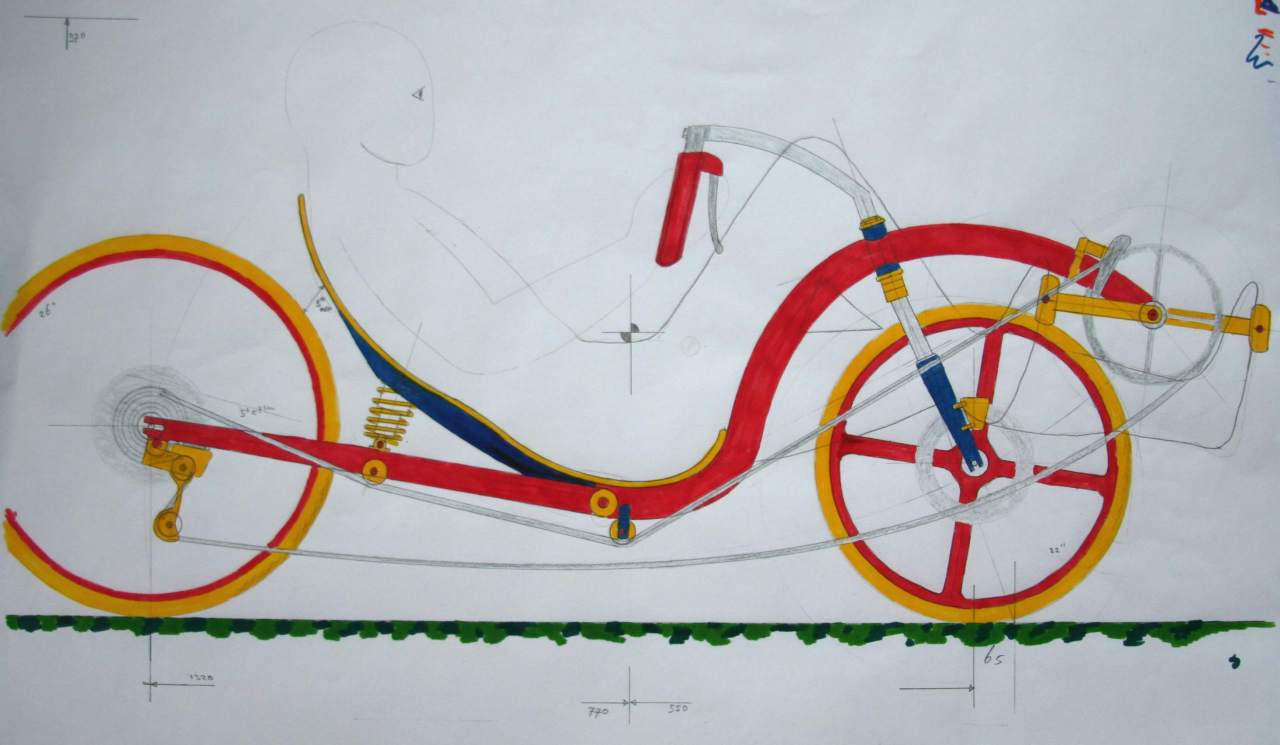
The bicycle frame is made of 57mm 1,5mm thick steel tube, the dimensions are the optimum in strength, weight and handling. It is CO2 welded together. Using a combination of used parts and new material the frame can be completed.
Building it is not difficult if you can:
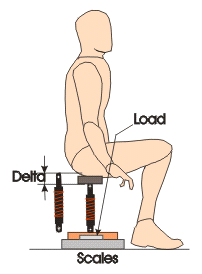
My initial advice would also be to buy good quality components. It is not important to have all the latest models, but last years components will do. Of particular importance are the brakes. You will be travelling at high speeds and car-drivers will not see you (your only 1m high). So your safety relies on your ability to manoeuvres and quickly stop. Braking a recumbent bikes is easy, particularly fore wheel braking. You can apply maximum force, as the risk of overturning is negligible. Many speedcyclist use diskbrakes.

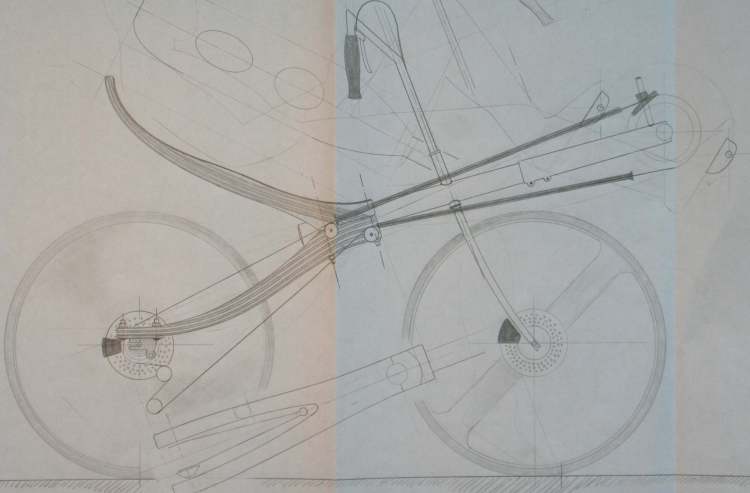
If you take a close look at the pictures and drawing you will see that I changed the chain from running along the front-wheel, to running over an extra set of guiding wheels. The chain running along the wheel highly diminishes the possible steering angle. Although it takes some time getting used to at slow speed and when starting the bike, it is absolutely irrelevant when at speed. Have a look at the steering angles you use when cycling.
I myself now wanted a more manoeuverable bicycle and have decided on the extra set of guiding wheels
This page gives some information about the design. I have also available a design booklet, with more pictures, more measurements and description of how to build the bicycle.
This booklet is not completely finished, a PDF can be downloaded by clicking this link : Design Booklet
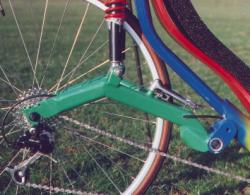
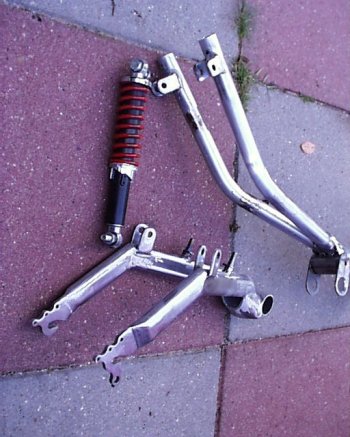
Several pictures are of the unpainted parts as these show the details better than the painted ones. From the response I get; the rear-suspension is one of the main reasons for asking the design drawings.
The system looks complicated, because of its 3D shape. More than 250 drawings were requested and several people told me they started building the bicycle.
I suspect many more have used the drawings to augment their own designs. These photo's should help.
I have designed the rear-suspension around scooter springs and dampers. They are easily available, cheap and durable. Another advantage is their length. This may sound strange when all the high-tech systems are short, but these more easily fit the place where you need them. Another advantage is that I absolutely wanted a suspension with two springs for stability. Some of the lateral load is now taken by the springs instead of the hinge.
This next picture shows how frame and rear-suspension bridge basically fit together. Only one spring is shown where two are needed. It is clear that the frame forks into two segments directly aft of the hinge. This to accomodate the springs. This detail is less obvious in the drawings. When you have bought your springs you will have to gauge their force/length ratio (or springconstant). If for example you have weak springs the travel of the rearsuspension might become too much. You will have to place the springs more towards the rear-axle than with stiffer springs, or you have to increase the angle between the frame and the suspension bridge to accommodate for the longer travel of the weak springs. The reverse is true for stiffer springs.
The axle system is designed for a vertical travel of the rear-axel of 50 mm. If you do any calculations regarding the stiffness of the suspension (which is easy) remember that I use two springs!!
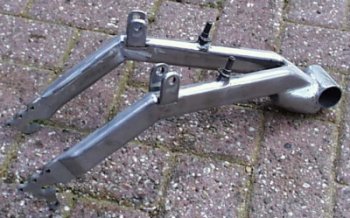

I have made this picture to present an overview of the complete frame set. There have been several questions of people wanting to make the seat. This is one of the nicer jobs in making the cycle. First of all find bending plywood, you can recognize it in the shop as the only plywood that bends real easy (in one direction only of course). I use three layers of 4mm birch plywood,
Glued together with either polyurethane glue or resorcinol glue. As a mold you can use either your bike frame or separately cut molds. The basic shape of the seat can be taken from the drawing, but experiment a little and see what type of curve suits you best, the seat shape can be real individual.
Make the plywood-blanks large enough for exact contour shaping after gluiing. Using clamps and sufficient glue, glue the layers together, remember to protect your hands!, After the glue has hardened shape the seat. You now have several choices. Just paint the seat. This makes a hard but not impossible to ride seat. Glue polypropylene foam (like one of those thin camping sleeping mats) to the seat if you want soem comfort. Or glue what in europe is called dry-back foam to the seat. I always use method 2.


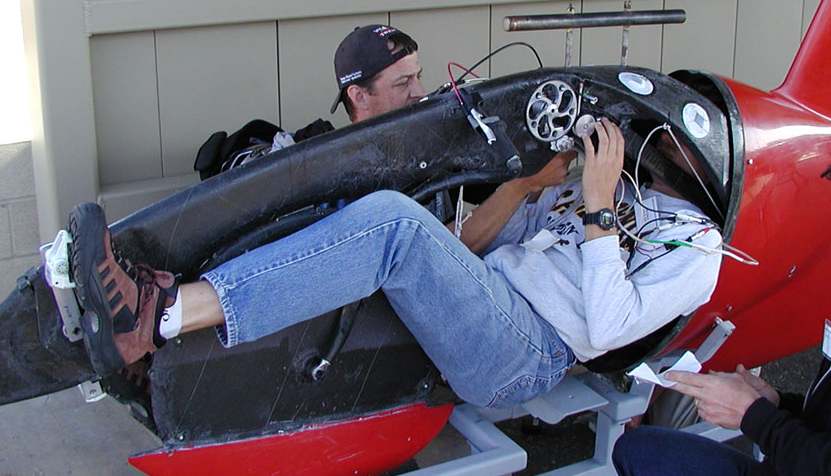
The obvious advantage of using the rowing motion is that more muscle groups are involved in the propulsion. Derk Thijs (Middelburg; The Netherlands) had to solve quite some mechanical problems. The most notable is that the rower does not have a sliding seat. He/she moves the leg and arm only. During the return stroke the cyclist can change gears.
He has now developed a new model for daily use. Support him in buying the best rowing bicycle there is.
With a streamline Derk has won many races, partly because of his athletic ability.
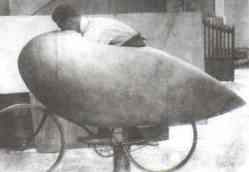
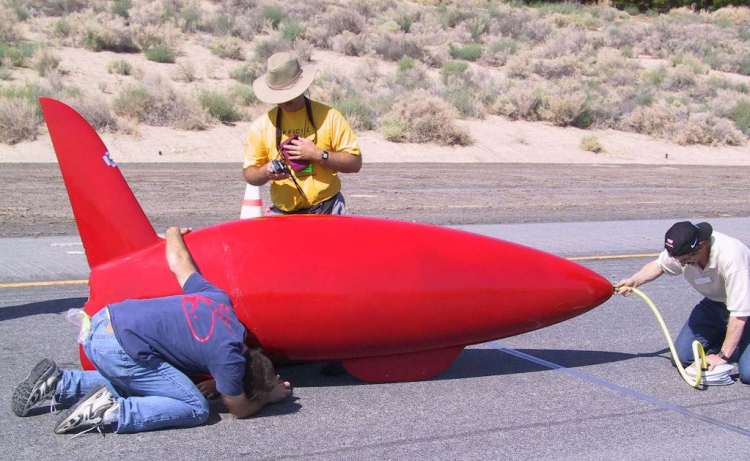
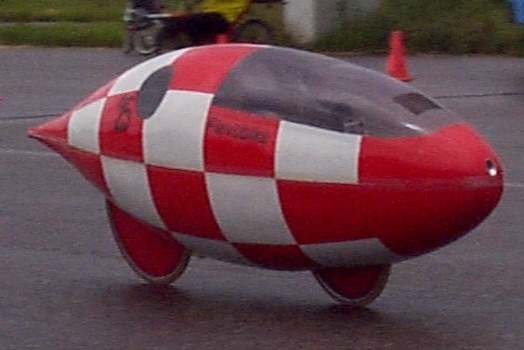
 For speed records completely enclosed bicycles are use. The current record stands at 111 km/h for a 200m sprint.
 | Thijs I.D. | Koorkerstraat 10; | 4331 AW Middelburg; | The Netherlands; | www.rowingbike.com |
| M5 recumbent bicycles; | Brakstaart 11; | 4331 TM Middelburg; | the Netherlands; | http://www.m5-ligfietsen.nl/ |
| FLEVOBIKE | De Morinel 55; | 8251 HT Dronten; | The Netherlands; | http://www.flevobike.nl |